Fermentation is one of the oldest food preservation techniques on earth — every culture has its own version, from Korean kimchi to German sauerkraut to Ethiopian injera. It is also one of the simplest things you can do in a kitchen: salt, vegetables, a jar, and time. The bacteria do the rest. If you have been buying fermented foods at the store and wondering whether you could make them at home for a fraction of the price and with better results, the answer is yes — and this guide will get you there.
What fermentation actually is
At its core, lacto-fermentation is a process where naturally occurring lactic acid bacteria (LAB) — primarily Lactobacillus, Leuconostoc, and Pediococcus species — convert sugars in food into lactic acid, carbon dioxide, and a range of beneficial metabolites.
Here is the step-by-step of what happens inside a jar of sauerkraut:
- You create the brine environment. Salt draws water out of the vegetables by osmosis, creating a liquid brine. The salt concentration (typically 2–3% by weight) suppresses harmful bacteria while allowing LAB to thrive.
- Leuconostoc species initiate fermentation. These acid-tolerant bacteria begin converting sugars to lactic acid and CO₂ within 24–48 hours. You will see bubbles — this is normal and desirable.
- Lactobacillus species take over. As the pH drops below 4.0, Lactobacillus — which tolerate more acidic conditions — become dominant. They continue producing lactic acid, further lowering the pH.
- The environment stabilizes. At a pH of about 3.2–3.5, fermentation slows. The acidic, anaerobic environment is now inhospitable to pathogens like E. coli, Salmonella, and Listeria. The food is preserved and probiotic.
This is not a fringe process — it is the same microbiology behind yogurt, cheese, sourdough, wine, and chocolate. The key difference with vegetable fermentation is that you do not need a starter culture. The bacteria are already on the vegetables.
Why fermented foods matter for gut health
The 2021 Stanford study — one of the largest randomized controlled trials on diet and the microbiome — found that participants who increased their fermented food intake to six servings per day saw significant increases in microbial diversity and decreases in 19 inflammatory markers over 10 weeks.[1] The high-fiber group in the same study did not see the same diversity gains in the same timeframe.
Fermented foods contribute to gut health in three ways:
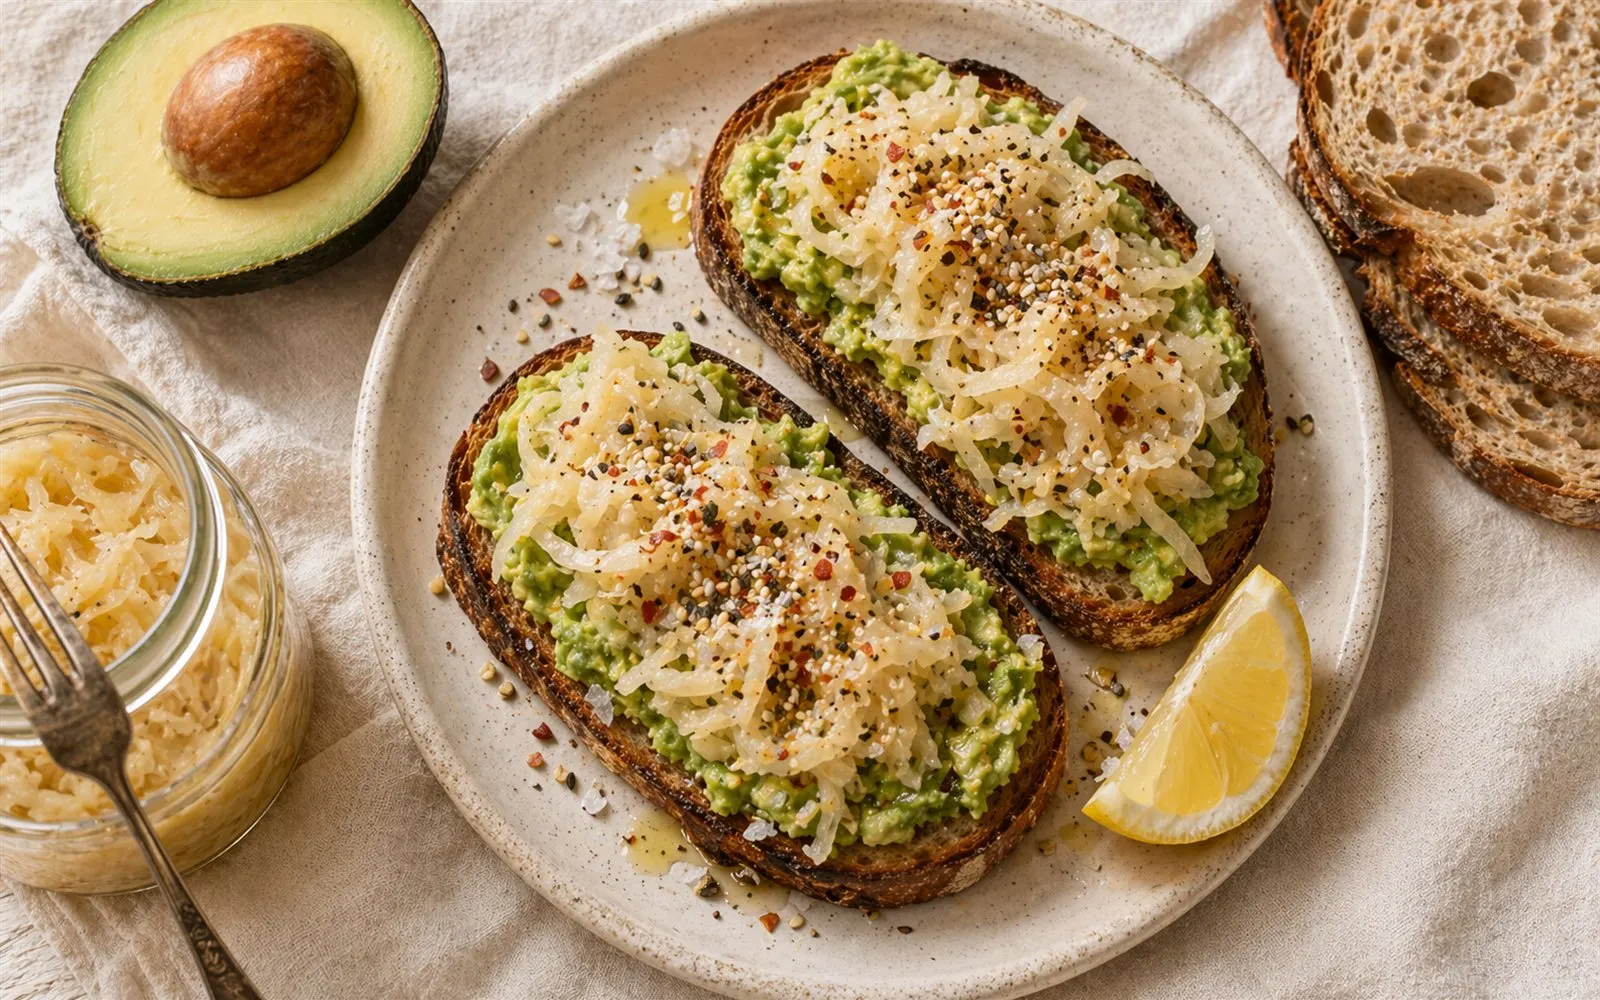
- Live organisms — they deliver a diverse community of bacteria directly to the digestive tract. A single tablespoon of raw sauerkraut can contain billions of colony-forming units across multiple species.
- Postbiotic metabolites — the lactic acid, bacteriocins, vitamins (K2, B12, folate), and enzymes produced during fermentation are bioactive even if the organisms themselves do not colonize permanently.[2]
- Enhanced nutrient bioavailability — fermentation breaks down anti-nutrients like phytic acid and produces enzymes that improve absorption of minerals like iron, zinc, and calcium.[4]
Equipment you need (and do not need)
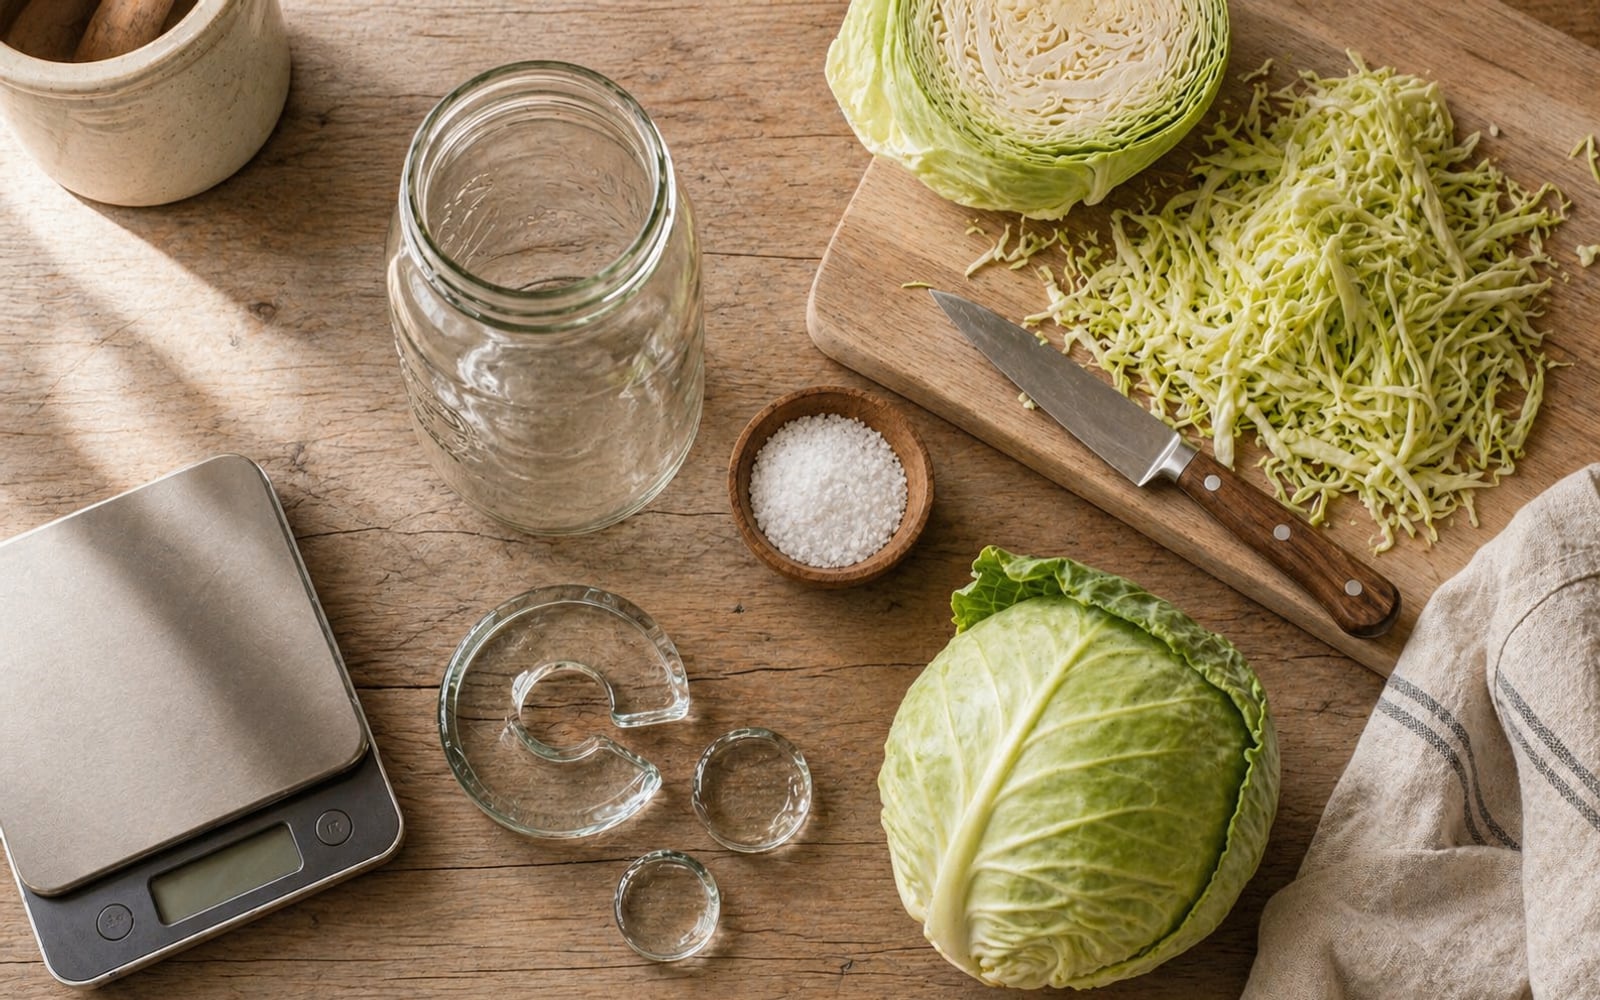
You can start fermenting with equipment you almost certainly already own:
Essential:
- A clean glass jar — a wide-mouth quart (1L) Mason jar is ideal for beginners. Avoid metal lids in direct contact with the brine (the acid will corrode them).
- Salt — non-iodized salt. Iodine can inhibit the bacteria. Sea salt, kosher salt, or pickling salt all work. Do not use table salt with anti-caking agents.
- A weight to keep vegetables submerged — a small glass jar filled with water and placed inside the larger jar works. Purpose-made glass fermentation weights are inexpensive and convenient.
- A knife and cutting board — for slicing or shredding vegetables.
- A kitchen scale — for measuring salt by weight (2–3% of the vegetable weight). This is the single biggest factor in consistent results.
Optional but helpful:
- Fermentation-lid airlocks — these fit on Mason jars and let CO₂ escape without letting air in. They reduce the need to “burp” jars and lower the risk of kahm yeast (a harmless but unsightly white film).
- A fermentation crock — traditional ceramic crocks with water-seal lids are beautiful and effective for larger batches, but completely unnecessary for starting out.
- A mandoline or food processor — for shredding cabbage finely, which increases surface area and speeds fermentation.
Not needed: special starters, whey, vinegar, or expensive equipment. The bacteria are already on the produce.
The golden rules of safe fermentation
Fermentation has a multi-thousand-year safety record, and there has never been a documented case of foodborne illness from properly fermented vegetables in a salt brine. But “properly” means following a few non-negotiable principles:
- Keep it submerged. Vegetables must stay below the brine level at all times. Anything exposed to air above the brine can grow mold. Below the brine, the anaerobic, acidic environment prevents pathogen growth.
- Use the right salt concentration. Weigh your salt — 2–3% of the total vegetable weight is the standard range. Too little salt and harmful bacteria can establish before LAB take over. Too much salt and fermentation stalls.
- Use clean (not sterile) equipment. Wash jars and tools with hot, soapy water. You do not need to sterilize — you want the lactobacilli on the vegetables to survive. Sterile technique is for canning, not fermenting.
- Trust your senses. Properly fermented vegetables smell tangy, sour, and pleasantly acidic. They should never smell rotten, putrid, or like ammonia. If it smells bad, it is bad. If it smells like sauerkraut, it is sauerkraut.
- Keep the temperature consistent. 65–75°F (18–24°C) is ideal for most vegetable ferments. Warmer temps speed fermentation but can produce off-flavors. Cooler temps slow it down but often yield better texture and complexity.
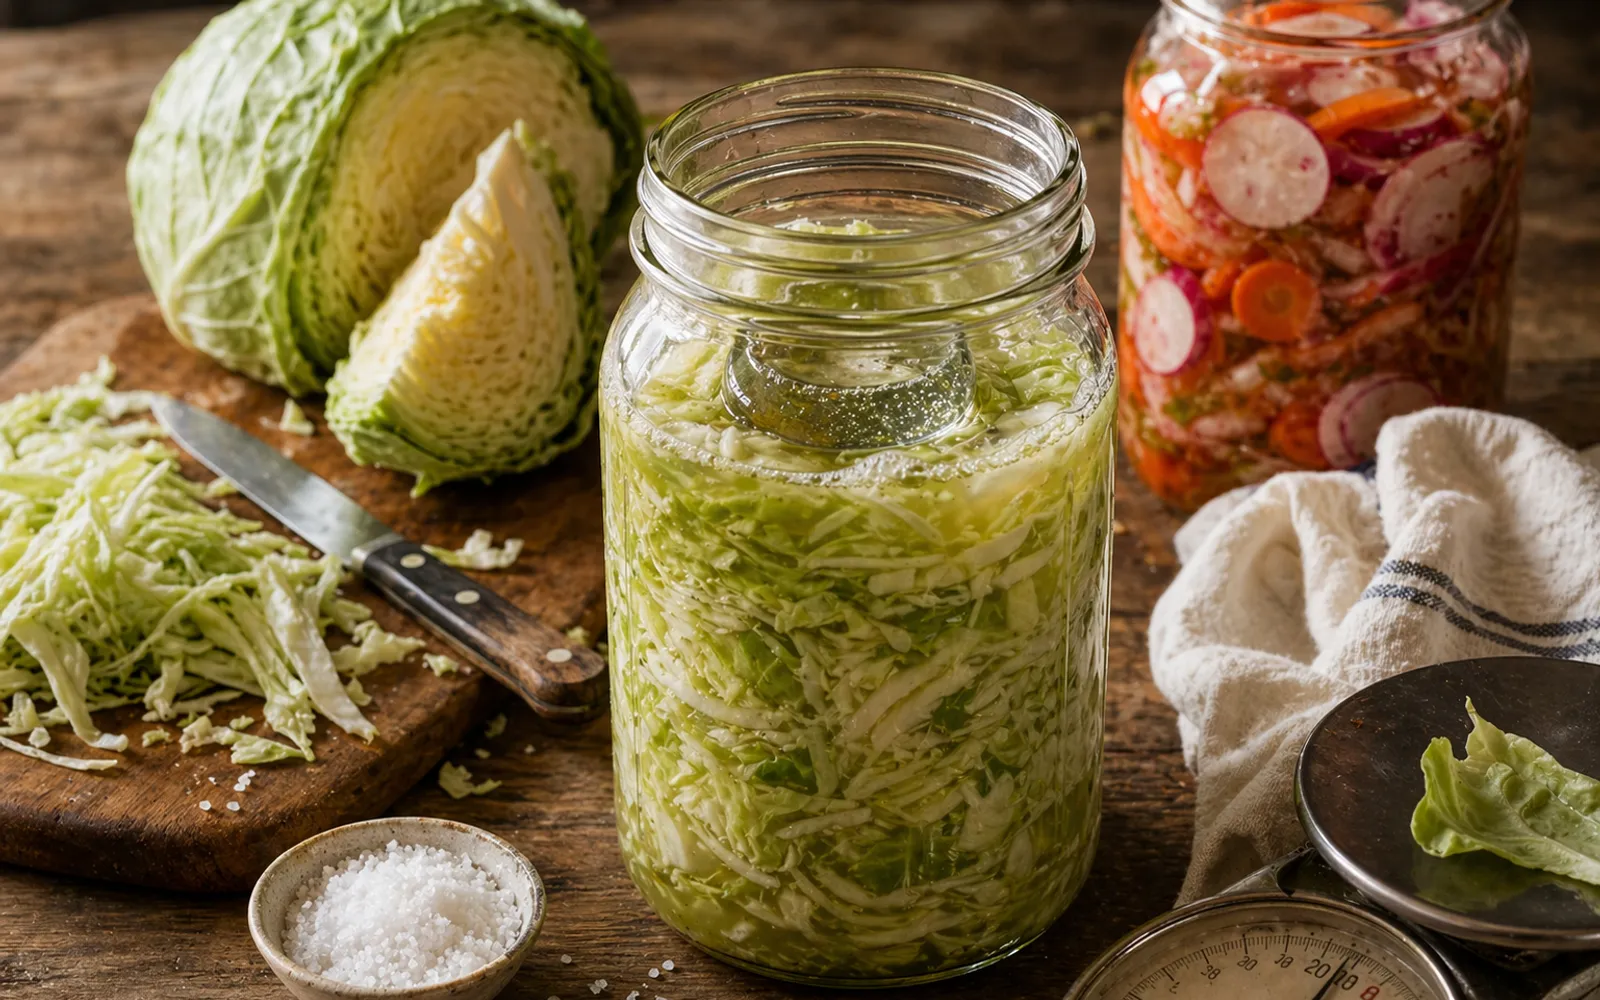
Your first ferment: simple sauerkraut
Sauerkraut is the best place to start because it requires only two ingredients and almost nothing can go wrong.
Ingredients: 1 medium head green cabbage (about 2 lb / 900 g), 1 tablespoon + 1 teaspoon fine sea salt (about 2% of cabbage weight).
Method:
- Remove the outer leaves of the cabbage (save one). Quarter, core, and shred finely — aim for pieces about the width of a nickel.
- Place shredded cabbage in a large bowl. Sprinkle salt over it. Massage and squeeze the cabbage with your hands for 5–10 minutes until it releases a pool of liquid — this is your brine.
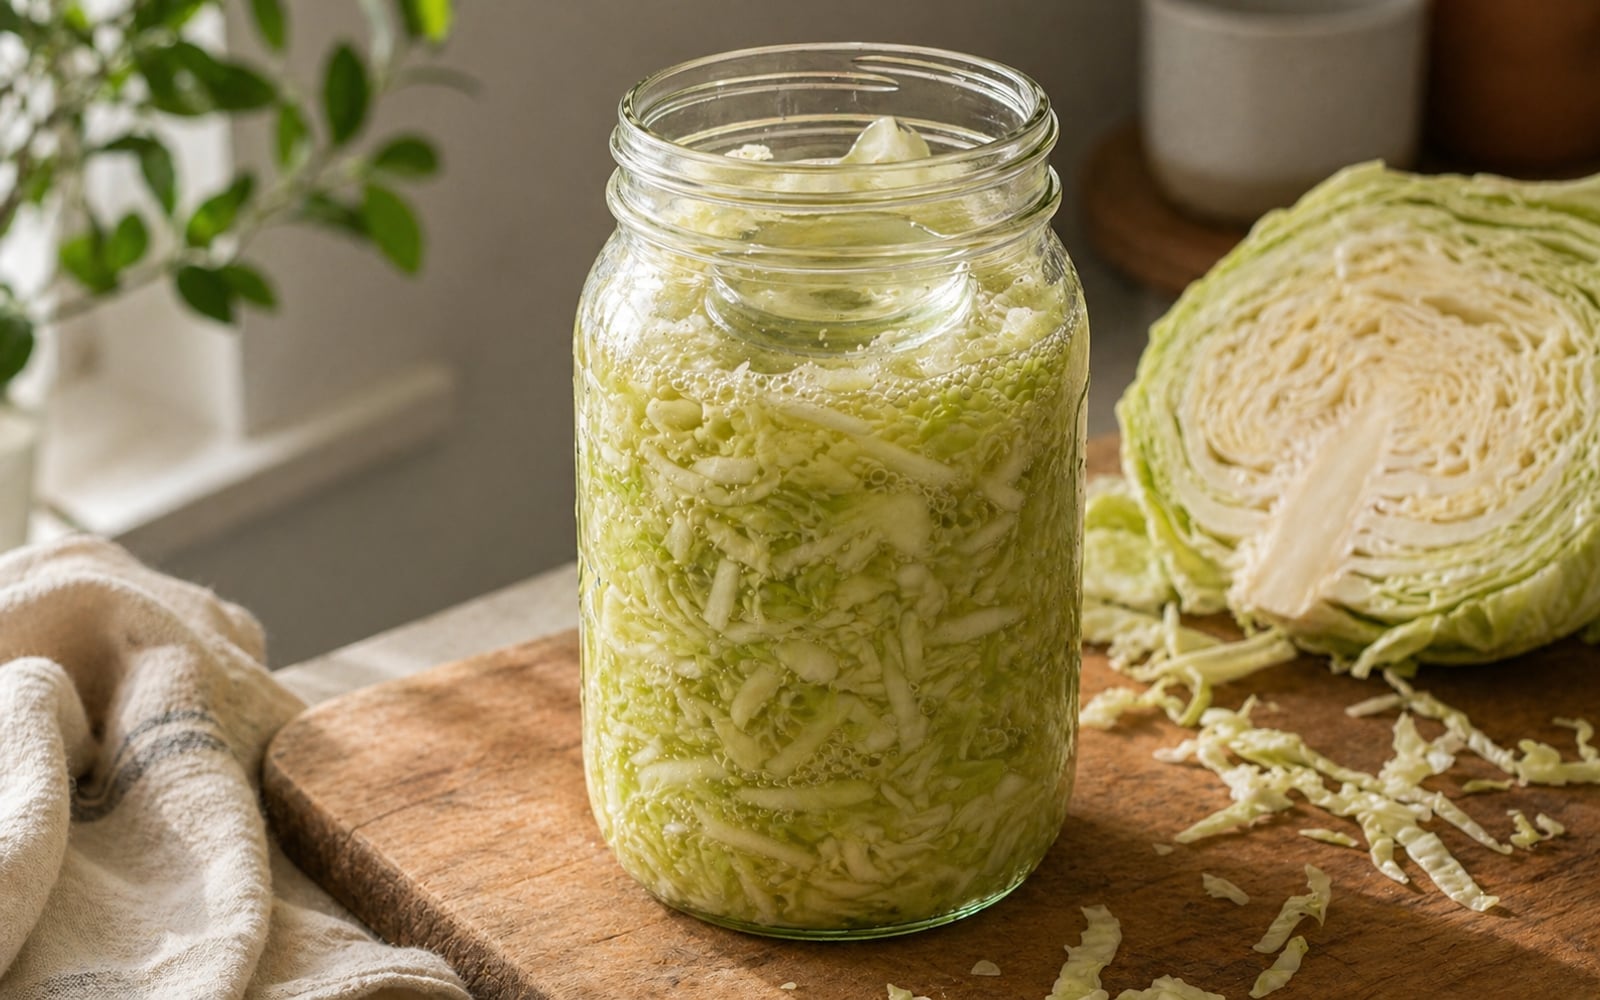
- Pack the cabbage tightly into a clean quart jar, pressing down firmly with your fist or a wooden spoon after each handful. The brine should rise above the cabbage. Leave about 1 inch of headspace.
- Place the saved outer leaf on top as a “cap,” then press a weight on top to keep everything submerged.
- Cover loosely (with a lid set on top but not sealed, or use an airlock lid). Place in a cool spot out of direct sunlight.
- Check daily for the first week. Press the weight down if vegetables have floated up. You will see bubbles within 2–3 days — this is active fermentation.
- Taste after 7 days. If you like the tang, move it to the fridge. If you want it more sour, let it go another 1–2 weeks. Cooler rooms may need 3–4 weeks total.
Storage: Sauerkraut keeps in the fridge for 6–12 months. The flavor continues to develop slowly even at cold temperatures.
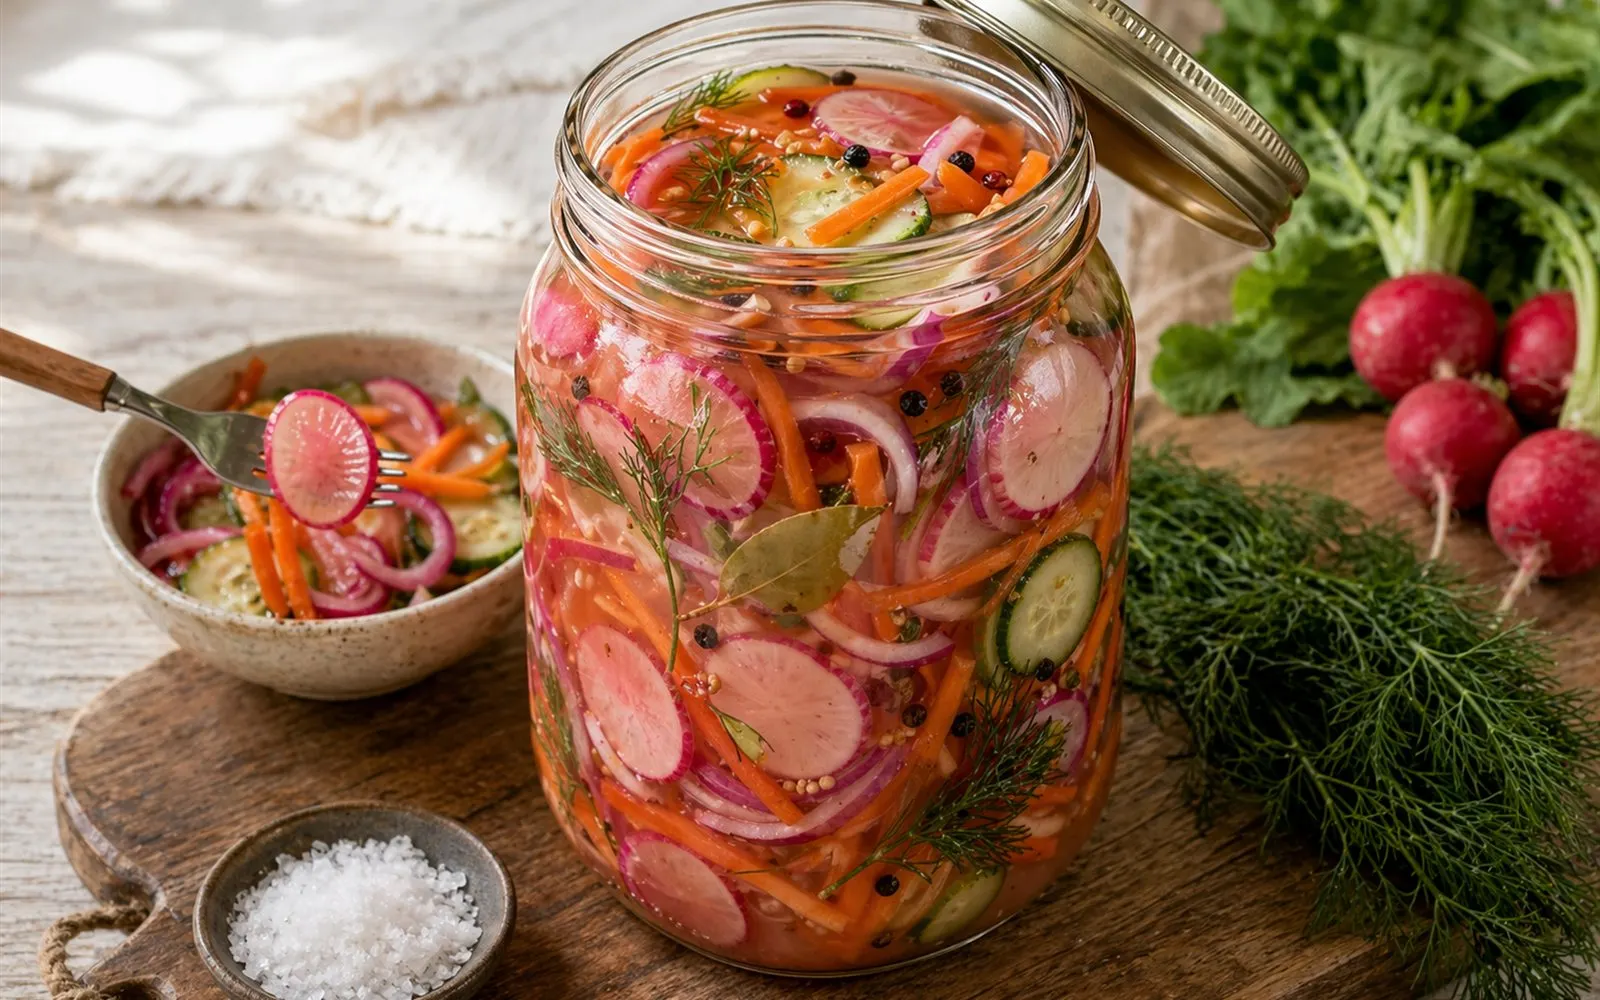
Your second ferment: quick salt-brine pickles
Unlike sauerkraut (which uses the liquid released by the vegetable itself), brine pickles use a saltwater solution poured over whole or sliced vegetables.
Ingredients: 2 cups sliced vegetables (cucumbers, carrots, radishes, green beans — any combination), 2 cups filtered water, 1 tablespoon fine sea salt, optional aromatics (dill, garlic, peppercorns, mustard seed, bay leaf).
Method:
- Dissolve salt in water to make a 2.5% brine. Stir until clear.
- Pack sliced vegetables and aromatics into a clean quart jar.
- Pour brine over vegetables until fully submerged. Weight down.
- Cover loosely and ferment at room temperature for 3–7 days, tasting daily.
- Refrigerate when the tang and texture are to your liking.
Tip: Cucumbers need the blossom end trimmed off — it contains enzymes that soften pickles. Leaving it on results in mushy pickles. If using whole cucumbers, use small, firm pickling cucumbers, not English or hothouse varieties.
Troubleshooting common issues
White film on top (kahm yeast): Harmless but unappetizing. Skim it off and ensure vegetables stay submerged. It is more common in warmer temperatures. An airlock lid largely prevents it.
Soft or mushy texture: Usually caused by too-warm temperatures, too-long fermentation, or the wrong cucumber variety. Firmer vegetables (carrots, radishes) are more forgiving for beginners.
Not sour enough after 2 weeks: Likely too cold. Move the jar to a warmer spot. Fermentation slows significantly below 60°F (15°C).
Very active bubbling / overflow: Normal in the first 3–5 days, especially with high-sugar vegetables. Place the jar on a plate to catch overflow, and burp the lid daily if not using an airlock.
Mold (fuzzy, colored patches): Rare if vegetables are submerged, but if you see true mold (not the flat white kahm yeast), discard the batch. Mold indicates aerobic contamination — the vegetables were likely above the brine.
Beyond vegetables: other home ferments
Once you are comfortable with sauerkraut and pickles, the world of fermentation opens up:
- Kimchi — similar technique to sauerkraut but with napa cabbage, gochugaru (Korean chili flakes), garlic, ginger, and fish sauce or salt.
- Water kefir — a mildly effervescent, probiotic drink made by fermenting sugar water with water kefir grains (a SCOBY of bacteria and yeast). Ready in 24–48 hours.
- Kombucha — fermented sweet tea using a SCOBY. Requires a starter culture, but grains are widely available online or from local fermentation communities.
- Fermented hot sauce — blend hot peppers with 2–3% salt and ferment for 1–4 weeks, then blend smooth. More complex flavor than vinegar-based hot sauces.
- Sourdough starter — a flour-and-water ferment that captures wild yeast and LAB. Not a vegetable ferment, but the same underlying microbiology.
How much fermented food per day?
The Stanford study used six servings per day, but even 2–3 servings moved the needle on diversity and inflammation.[1] A practical minimum:
- Breakfast: ½ cup kefir or yogurt in a smoothie or on oats.
- Lunch or dinner: 1–2 tablespoons sauerkraut, kimchi, or pickled vegetables as a side or condiment.
- Optional: A small glass of kombucha or water kefir.
The key is consistency over quantity. A tablespoon of kraut every day is better than a jar on Saturday. The organisms need regular reinforcement to maintain their presence in the gut ecosystem.
Bottom line
Fermentation is not complicated, not dangerous, and not expensive. A head of cabbage, a tablespoon of salt, and a clean jar can produce weeks of probiotic-rich food for under $2. The bacteria do the work — you just need to set up the conditions and get out of the way. Start with sauerkraut this weekend. You will have a jar of live-culture food in a week, and you will never go back to buying the shelf-stable kind.